Contents
General
Processing
Item Entry
General
- Note: Rush and priority items are processed ahead of other library material.
- Rush items have a checkmark on In-Process (IP) form.

- New non-print material may receive initial processing of unwrapping and separation of the components of the item. Titles are then catalogued, followed by creation of the item record and printing of the call number label. Labels are then affixed and the item reassembled.
- Each separate piece in a box set requires a barcode number as identification
- Each CD box set must have one call number label and one contents label (if applicable)
- RFID tag: ensure disc and liner/sleeve do not prevent hub tag from reading due to metallic content before affixing the tag.
- RFID conversion setting = CD/CD-ROM
- If liner prevents reading, photocopy and replace; affix RFID hub tag to disc
- If disc prevents reading, place book/square RFID tag on back of liner and donut label on disc
- Affix hub tag on the primary disc of a multi-disc set, e.g., primary disc rather than bonus disc. When all discs in a set contain primary content, affix hub tag to the last disc in the set.
- Each item must have an RFID tag attached; write the last 9 digits of the barcode number on the tag as needed; green or blue ink preferred
- Pieces of an item not receiving an RFID tag require that the significant portion of the barcode number (9 digits) be written on the affixed label
Processing
- Separate Rush CDs to process first
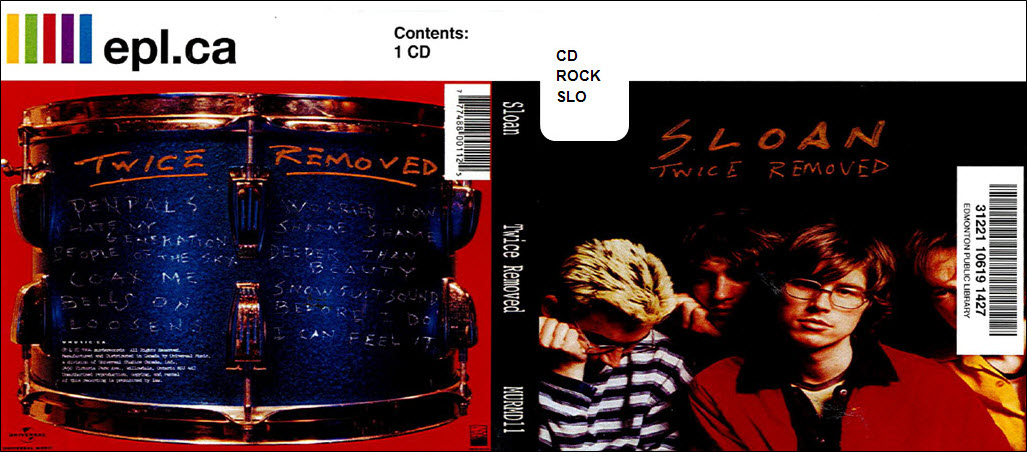
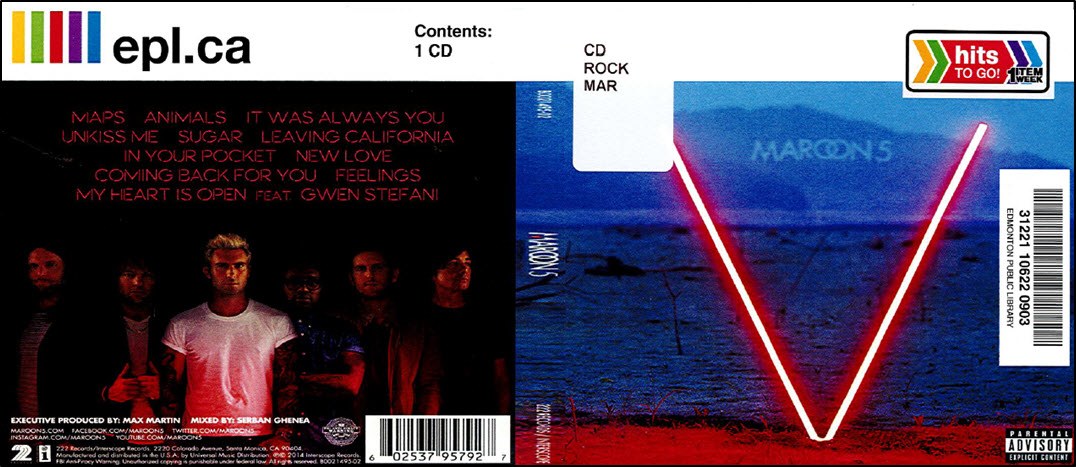
- Sort non-Rush CDs based on IP form call # (i.e., Adult; Christmas; Juvenile music; Juvenile spoken -- see images below)
- Remove shrink wrap and security seals as needed
- To print call number labels for a batch of CDs:
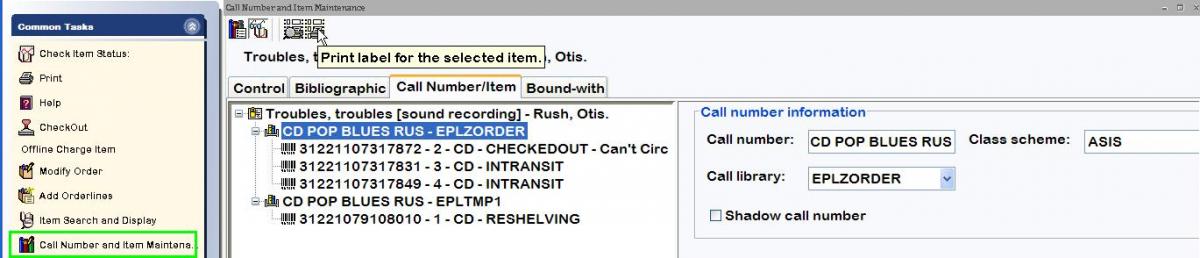
- Workflows > Proc > Call Numbers and Item Maintenance
- Search Index=General and Type=Keyword
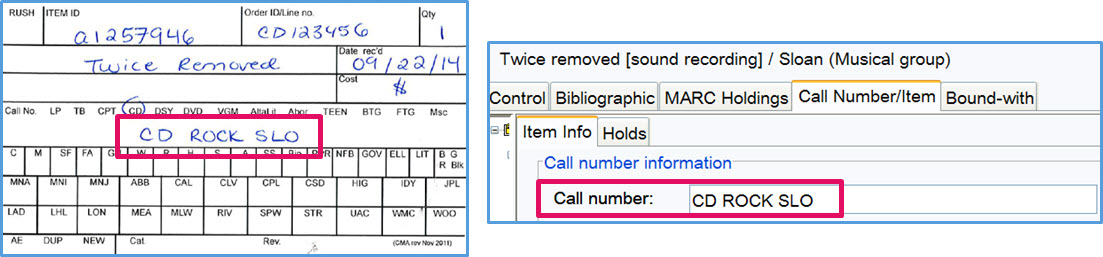
- Type Item ID # from IP form into search box; click Search
- Verify that Call # on form matches Call # in record
- If Call # in record = ON ORDER, click on the Bibliographic tab
- Select the Call # in the 090, 092 or 099 field; CTRL-C to copy
- Click the Call Number/Item tab, click in the Call number field and CTRL-V to paste; Save
- Consult the cataloguer re: any other Call # problems
- Check # of copies on IP form and print call # labels
- Within the Call Number/Item tab, highlight the Call number
- Click the printer icon to Print label for the selected item
- Change number of copies in Print window to match # of CDs; click OK or hit Enter
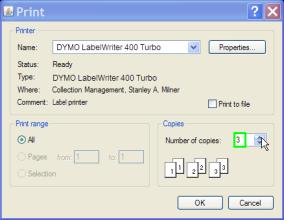
- Click Close
- The machine-readable barcode is affixed to the front liner near the bottom
- Place the eye-readable barcode on the upper right corner on any accompanying loose book/booklet
- Books/booklets attached to container do not receive an eye-readable label
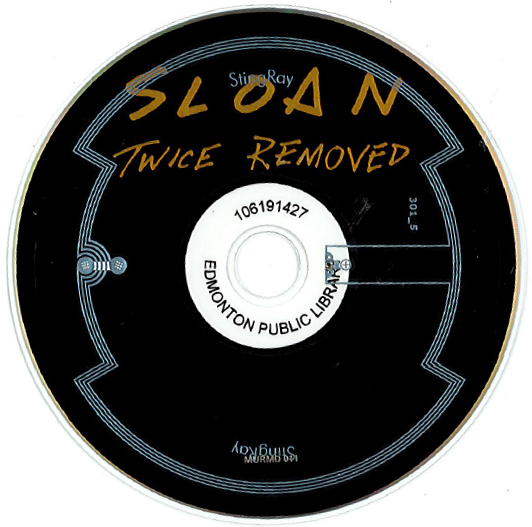
- After ensuring CD and/or liner do not prevent hub tag from reading, affix a hub label with the last 9 digits of the barcode number to the centre of the CD and a StingRay RFID tag
- Affix call number label to the top left corner of the front liner
- RFID tag is affixed to the first/primary CD; affix donut label to any CDs that do not receive an RFID tag. Write the last 9 digits of the barcode number on the label.
- 2 CDs (no bonus) – affix RFID tag to the second CD, donut label on first disc
- 2 CDs (1 bonus) – affix RFID tag to the primary CD, donut label on bonus disc
- 1 CD + 1 DVD – affix RFID tag to CD, donut label on DVD
- For CDs in cardboard cases, transfer to jewel/plastic case accommodating # of discs and any accompanying books/booklets, etc.
- Make a colour copy of the original packaging
- Cut to fit the selected case, retaining all essential printed information
- Affix barcode, RFID tag and labels as in steps 3-8 above
- For items with more than 1 CD, CD + DVD, and/or accompanying books/booklets, affix appropriate Contents label to front liner
- For any books/booklets present, apply the centre from the donut label to the right hand corner of the booklet and write the last 9 digits of the barcode; include accompanying book/booklet in standard jewel case, if possible; otherwise transfer to a larger case as needed

12. Apply an 'Oversize' Genre label directly above the spine label if it meets the oversize requirements; see All Formats, Oversize.

a. Affix a contents label beneath the barcode with the same orientation
b. Affix call # label on spine with Oversize label
c. Ensure Item record home location=MUSICOVR or AUDBKOVR

- For Hits to Go items, affix Hits to Go label to front liner; item Home location=FLICKTUNES; item Type=TUNESTOGO/JFLICKTUNE and shadow item records
14. For Capital City Records Collection items, affix the corresponding label to the front cover; home location = CAPCTYREC & item type = CCR
 (OL1826WX)

16. Activate RFID tags using 3M Conversion Station Software
- Setting=CD/CD-ROM
Item Entry
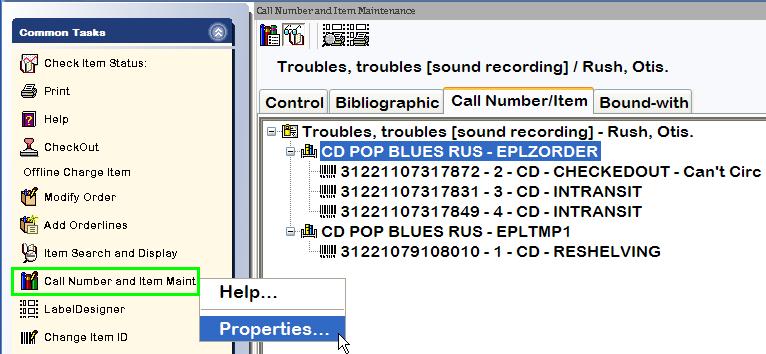
17. Workflows > Proc > Call Number and Item Maintenance > Right click > Select Properties
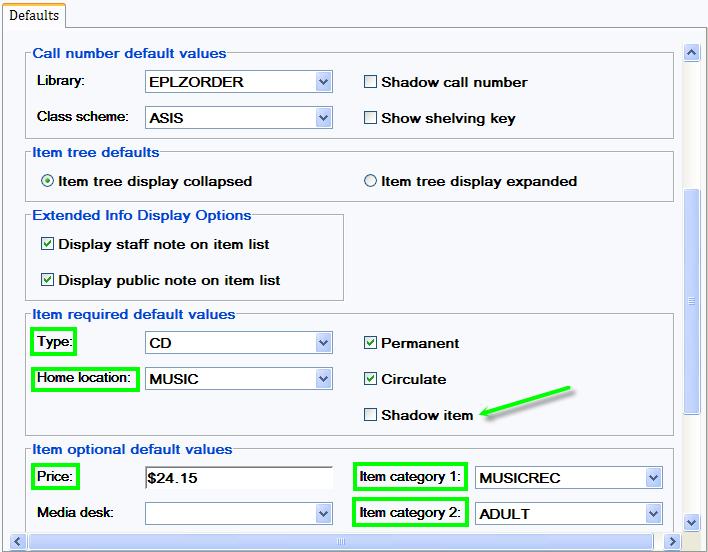
18. Use Item Entry Worksheets info for Adult and Juvenile CDs as reference to enter correct Properties for available fields such as Item Type, Home Location, Price* and Item Categories; click OK
*Price = IP form price + $8 cataloguing/processing fee
- Item-specific properties should be verified/edited before entering items under a different title
19. Click on Call # and Item Maintenance
- Type Item ID # from IP into search box; click Search
- Verify that Title and Call # on form matches record
- All items must be added under Call Library=EPLZORDER
- If Call # in record = ON ORDER or XX(#######.#), click on the Bibliographic tab
- Select the Call # in the 099 or 092 field; CTRL-C to copy;
- Click the Call Number/Item tab, highlight text in the Call number field and CTRL-V to paste
- Change Class scheme to ASIS (if needed); SAVE
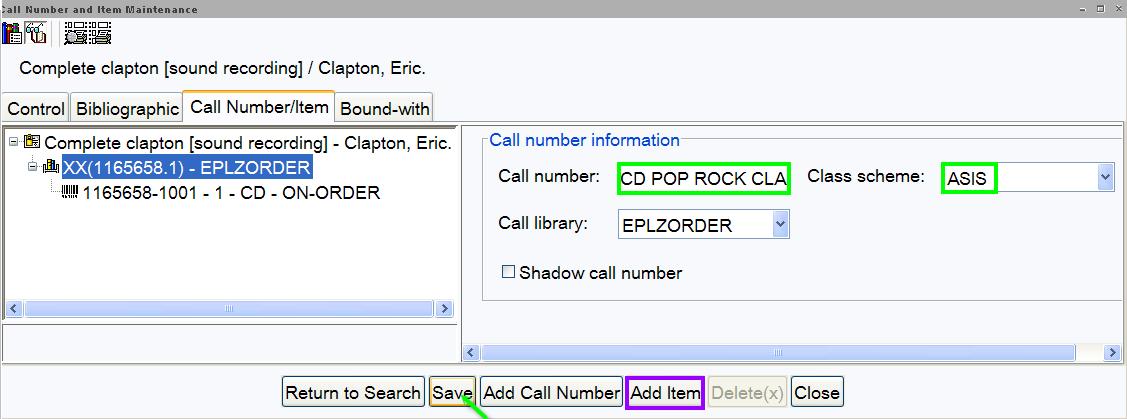
- If no ZORDER or XX(#######.#) Call # in record, create one by clicking on the Add Call Number button; proceed to next step
- Click Add Item and scan each item barcode for all copies of title; Save
- Click on ON ORDER item; change Home location to Discard; Save*
*The ON ORDER item should not be discarded if only HTG items have been created.
20. Common Tasks > Check Out wizard
- Check-out items to assigned Collections Card*
- Affix System Hold labels to items with holds
- Items with no holds pending are distributed among the service points
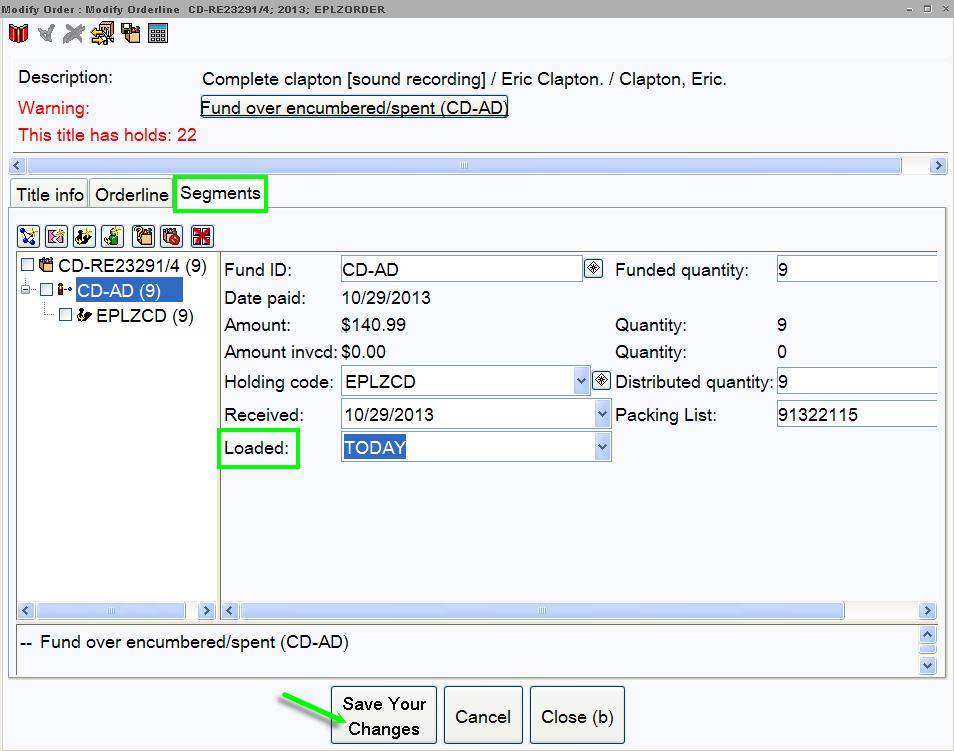
21. Common Tasks > Modify Order wizard
- Scan barcode of one item for each title; verify Item ID, date and copies match
- Click Segments
- Enter T for Today in Loaded field
- Click Save your changes
Last revised: Feb. 28, 2025